


Have you ever noticed that no matter how much you heat your home, some rooms still feel cold? This could be because your house has small gaps and cracks that let air escape. These tiny openings make your heating and cooling system work harder, which increases energy bills.
The good news is that there’s an easy way to fix this problem. Keep reading to learn simple energy-efficient tips for using spray foam insulation to keep your home warm, save money, and make your living space more comfortable.
Choosing the Right Spray Foam
Before starting, it is important to choose the right type of spray foam. There are two main types: open-cell and closed-cell foam. Open-cell foam is softer and good for indoor use, while closed-cell foam is denser and better for outdoor areas or places that need extra protection.
If you are working on small gaps around windows, doors, or pipes, a simple spray foam can from a hardware store will work well. For bigger areas like walls or attics, a spray foam kit is a better choice.
Preparing Your Space
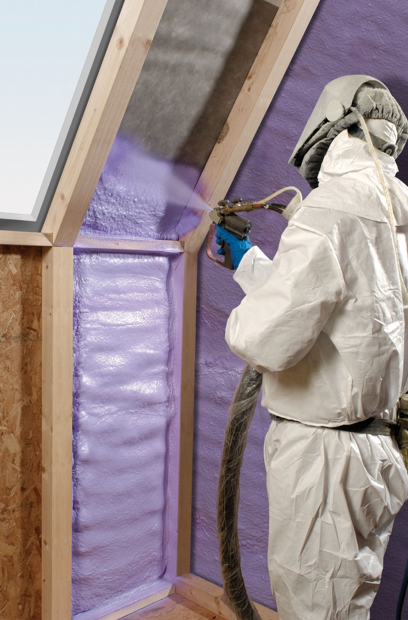
Before you begin, clean the area where you will apply the foam. Dirt and dust can prevent the foam from sticking properly. If you are working inside, cover furniture and floors with plastic sheets to avoid making a mess.
Also, wear protective gear, including gloves, goggles, and a mask. Spray foam expands quickly, so be sure to plan where you will spray before you start.
Applying the Foam Properly
When using spray foam, always shake the can well before spraying. Hold the can at the right angle and spray in short bursts to control how much foam comes out. The foam will expand after a few seconds, so do not spray too much at once.
If you accidentally use too much, wait for it to dry, then trim off the excess with a knife. Be careful around electrical wires and vents, as foam should not block important airflows.
Allowing the Foam to Cure
After applying the foam, let it dry completely. Most spray foams take about 24 hours to fully cure. During this time, avoid touching the foam.
Once it is dry, you can paint over it or trim it to fit your space better. Proper curing helps the foam do its job of sealing gaps and keeping your home warm.
Reaping the Benefits
Once you have applied the foam correctly, you will start to notice the benefits. Your home will stay warmer in winter and cooler in summer.
Your heating and cooling system will not have to work as hard, which means lower energy bills. A well-insulated home is also quieter because spray foam helps block outside noise.
Make Your Home More Comfortable Today
By following these simple steps, you can improve your home’s insulation without spending a lot of money. Spray foam insulation DIY projects can make a big difference in reducing energy costs and increasing comfort. With the right materials and a little effort, you can create a well-insulated home that keeps you warm in winter and cool in summer.
Energy-Efficient Guide
A well-insulated home is an energy-efficient home. With these easy spray foam tips, you can enjoy a warmer house and lower bills. This simple project is a great way to improve your home without hiring a professional.
Plus, it helps reduce outside noise and keeps your home more comfortable year-round. Even small insulation upgrades can lead to big savings over time.
Did you like this guide? Great! Browse our website for more!